World Scenario
The proposed world scenario for developing Hublify templates is as follows:
- Your Hublify Server (cloud)
- running 24/7 in the cloud
- live system, running latest Hublify version
- your live data
- offers (template) file access via SFTP
- Your computer (local)
- Your favored IDE (e.g. PHPStorm, MS Visual Studio, ...)
- Sync / download Hublify (template) files via SFTP.
Usually very good supported within common IDEs! - Edit locally (also partially offline!).
Run / Try-Out after upload to remote Hublify server - git : or other VCS. Use your favored system, locally.
Alone or in a team!
Development Workflow
The rough development workflow is, that you locally can edit and index the template files in your own preferred IDE.
Hublify (rendering) runs only on the remote cloud instance.
- Download / Sync the Hublify template files into your local IDE.
- Edit template files locally.
- Save & upload changed template file to Hublify Server.
This is fast! You will not really notice any delay. - Refresh your browser and see template-render results of your Hublify Server.
VCS (git, ...)
You can use your own preferred version control system in your local IDE for your local files.
The Hublify Server itself does not support any vcs support.
Local IDE Setup
Project Setup (SFTP & PHPStorm)
This is a step-by-step guide for setting up a project in a PHPStorm IDE.
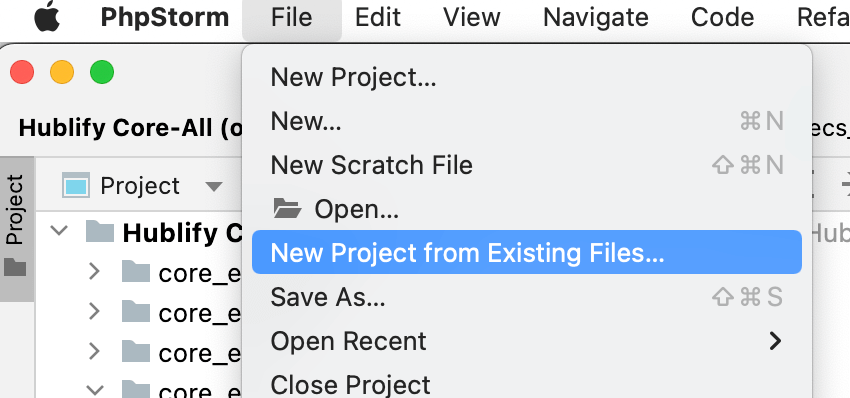
Step 1
Start by choosing "New Project from Existing Files".
Step 2
Since the Hublify files you want to edit are located on the remote Hublify server, you need to connect your IDE via SFTP that server.

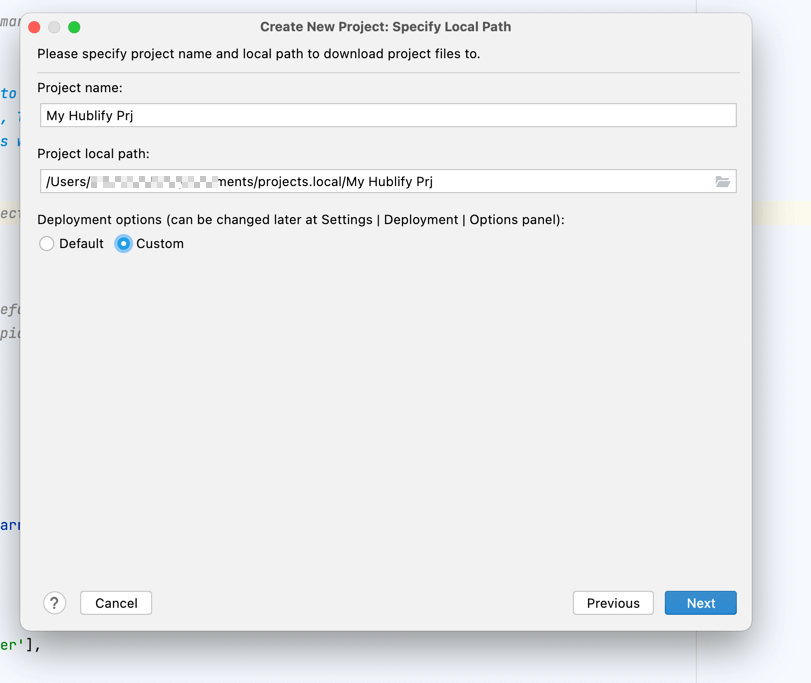
Step 3
In the next step you can optionally choose "custom", if you want to configure your file handling settings already now.
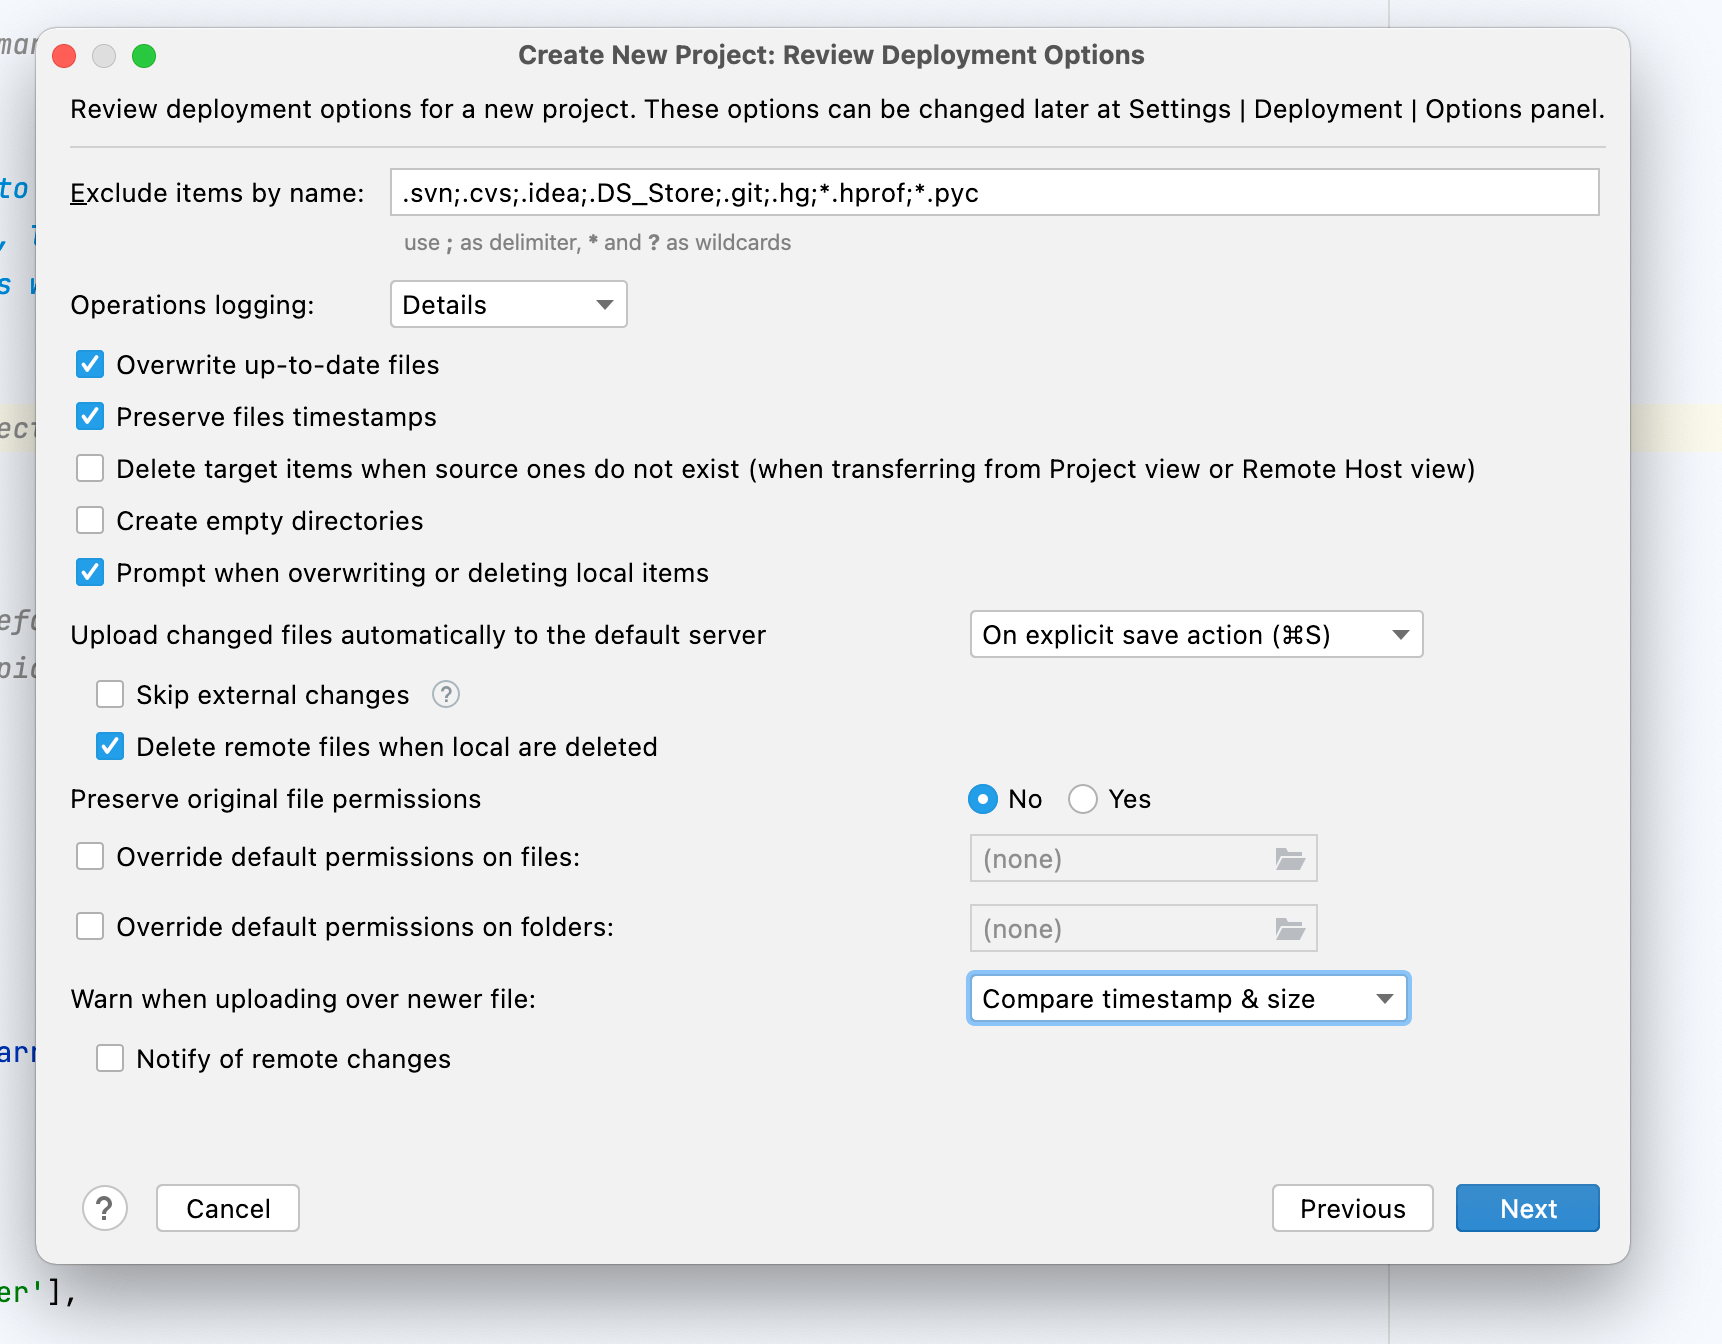
Step 4
Configure your "custom" deployment settings, how the IDE should handle files. For us these settings worked fine.
You can change these settings later again.
Step 5
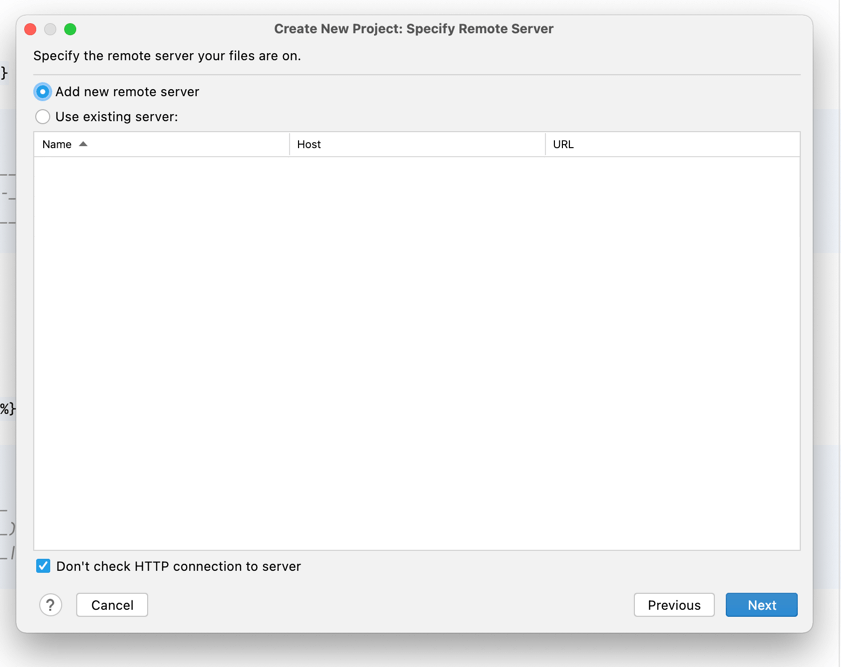
Now, we have to configure the actual SFTP connection to the Hublify server.
Choose "Add new remote server".
Also tick the checkbox for "Don't check HTTP connection to server"! Otherwise you might "connection problems" in the following steps.
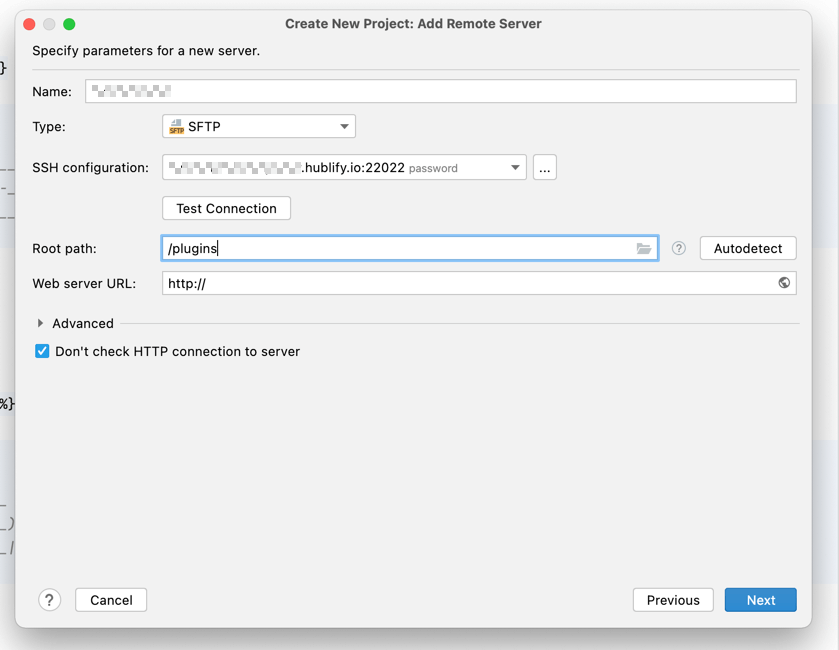
Step 6
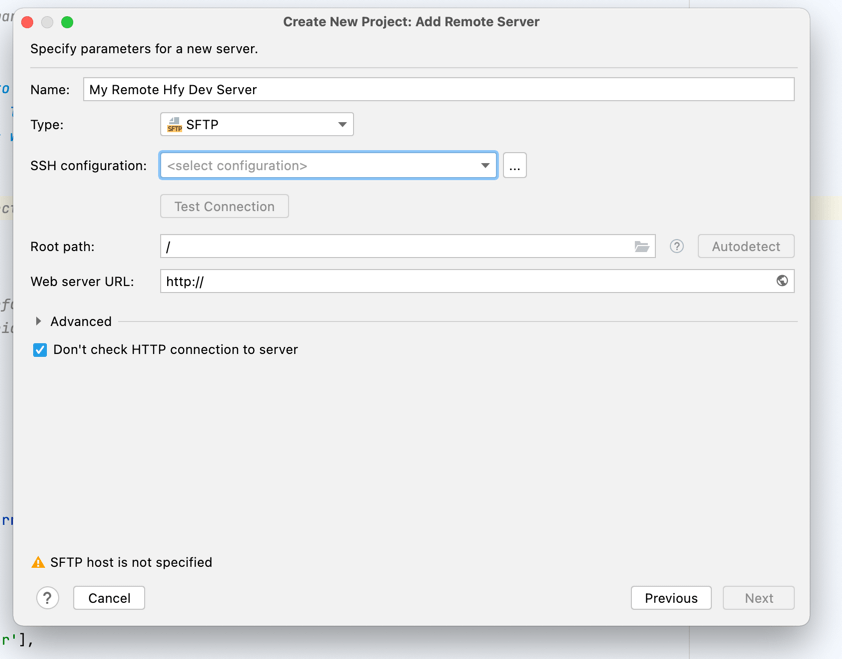
Now we will add the SSH / SFTP access to your remote Hublify Server.
Give it a nice name and continue by adding a new SSH configuration.
Step 7
Set the Host and Port, Username, Password as provided by Hublify (contact support).

Step 8
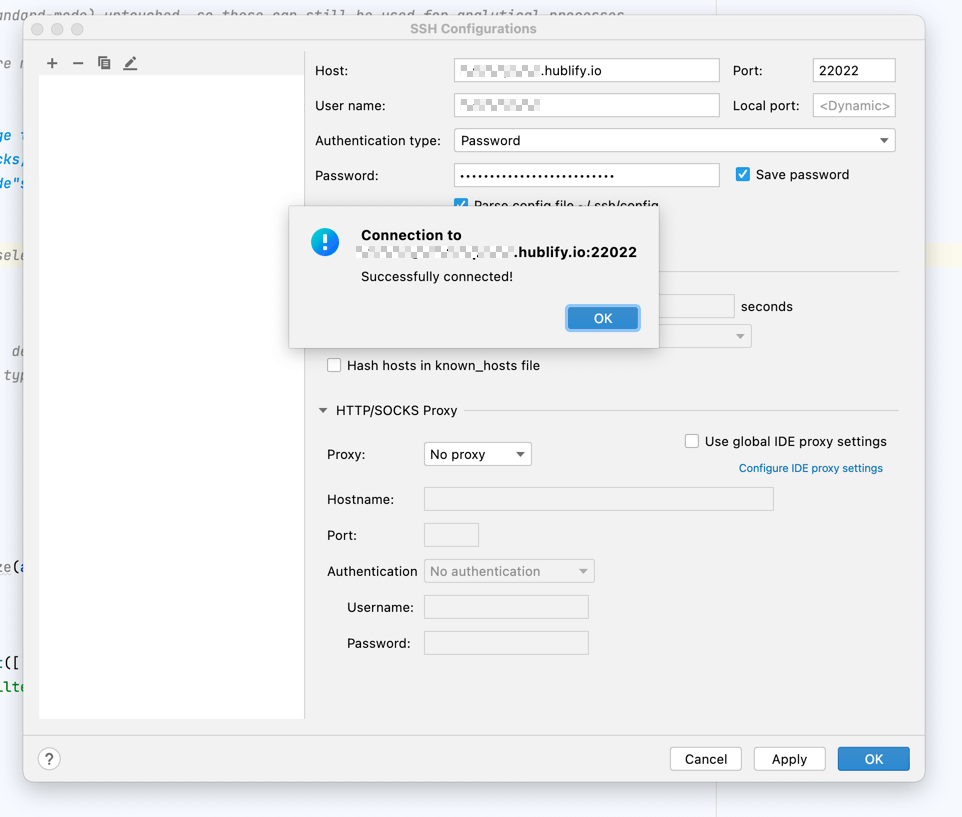
To ensure proper SSH connection, use "Test Connection"
Step 9
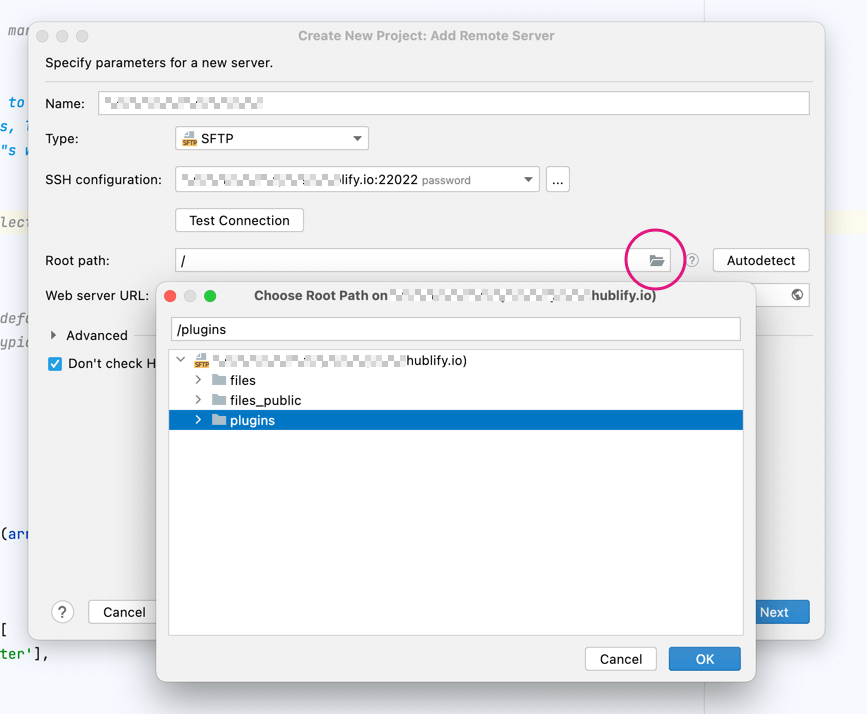
Now, that basic SSH connection is working, we will configure under which remote file path the IDE will find the desired files.
For the root path choose the "/plugins"-folder.
You don't want to include (and download & sync etc) the folders: "files" and "files_public", since these contain usually many media-assets etc. which are irrelevant for template coding.
Step 10
Configuration should look like this.
The actual Web Server URL can be left empty. Be sure then to tick the checkbox "Don't check HTTP connection to server".
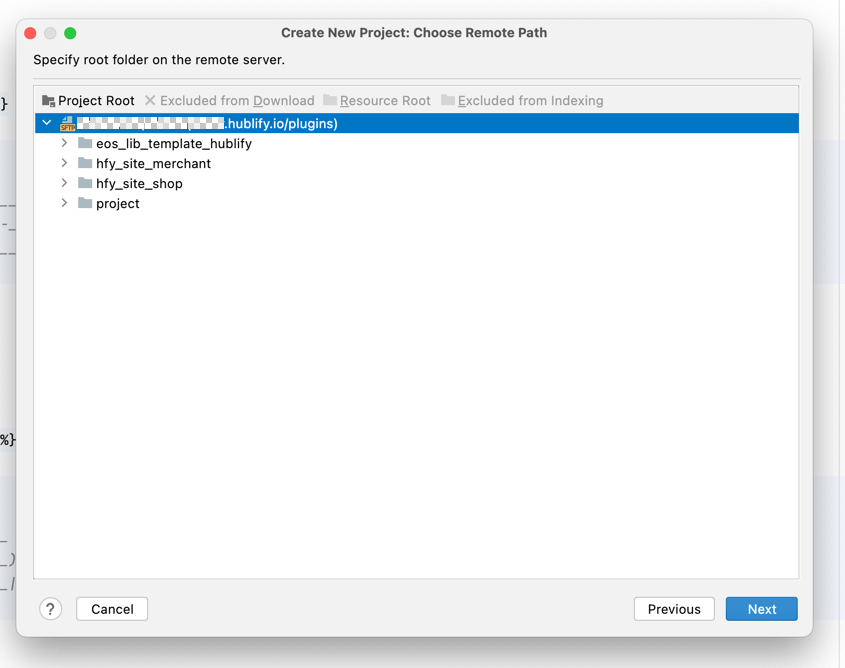
Step 11
Then you can set your project root dir to that chosen remote plugin-folder.
Info: Depending on your Hublify Server might see different sub-folders here!
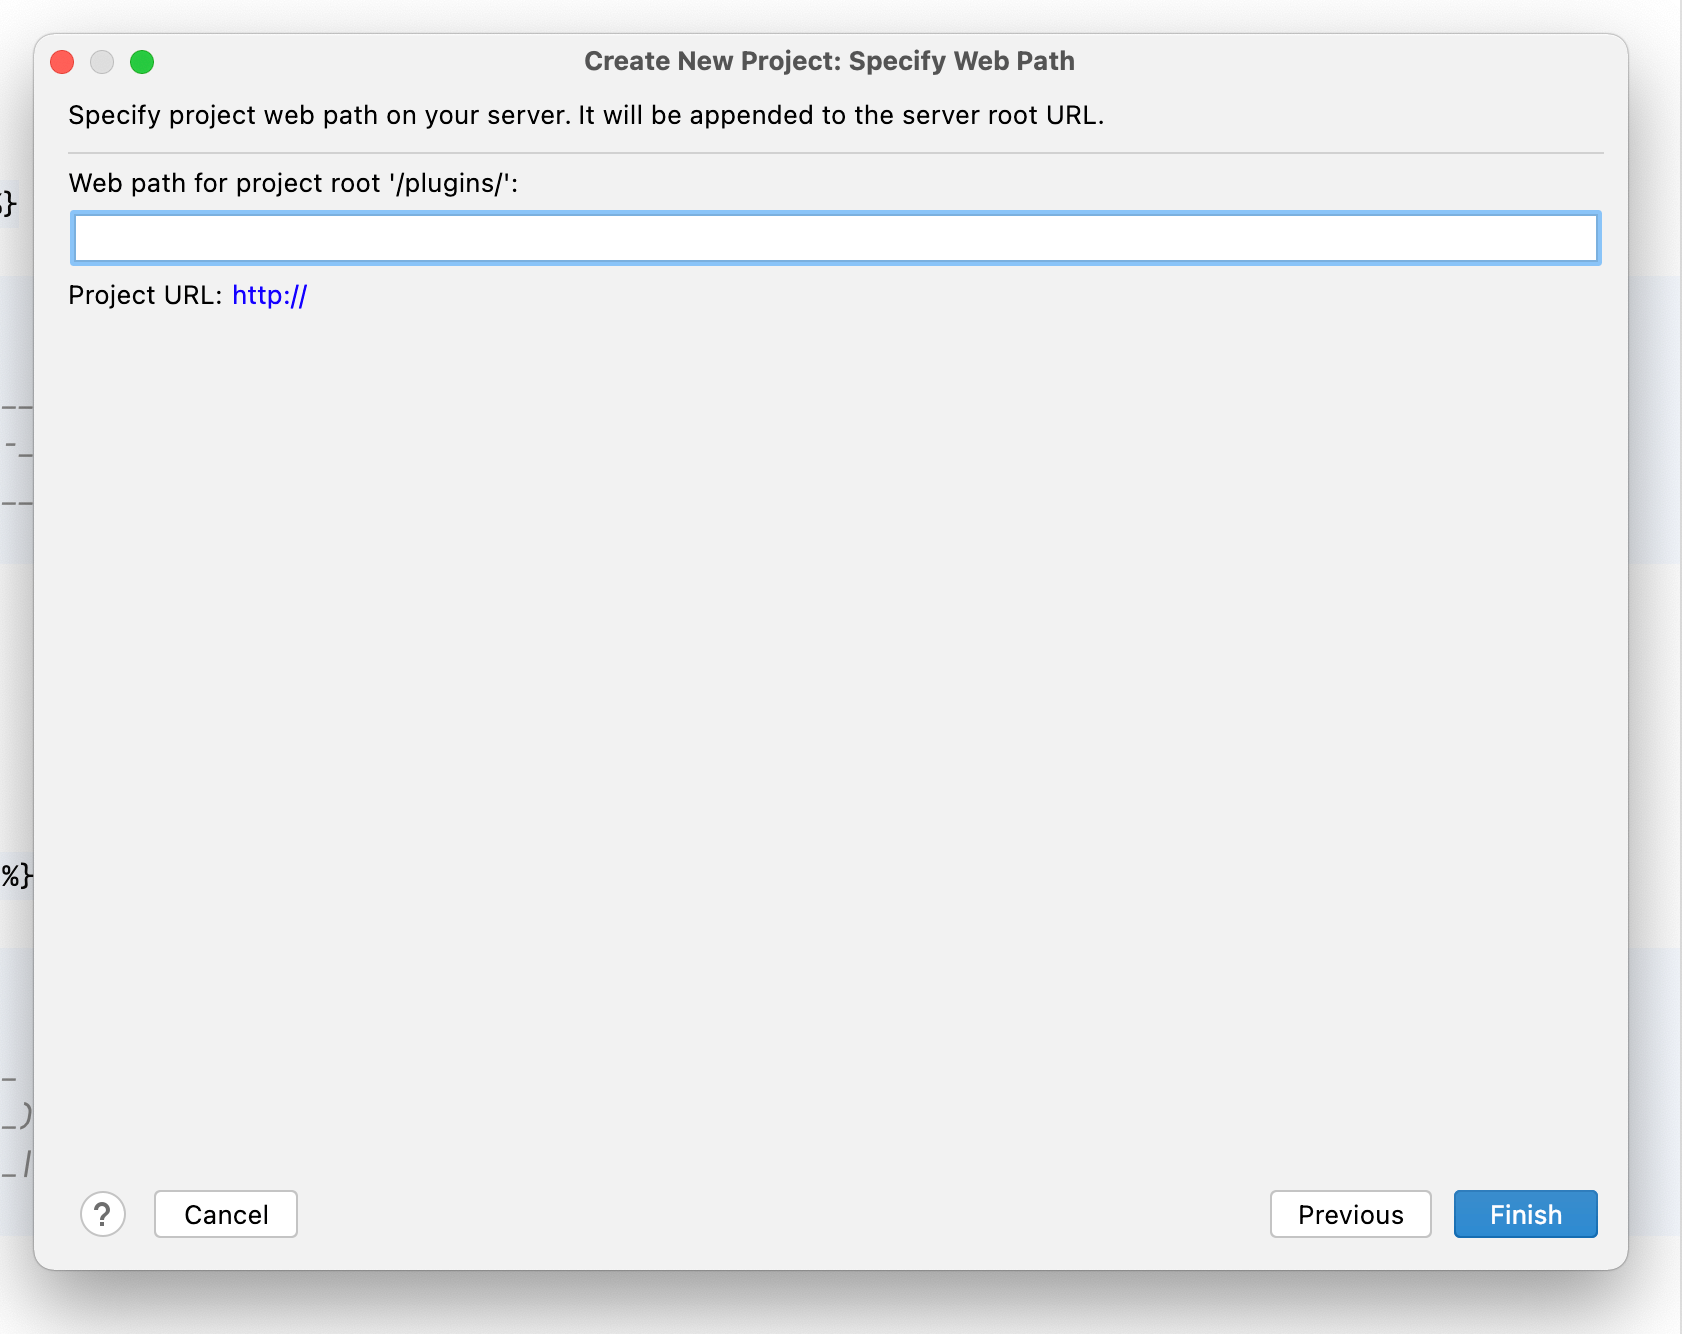
Step 12
No further configs on this next step. And finish it off! :)
Then the IDE will start to download the remote files onto your local HDD.
DONE!
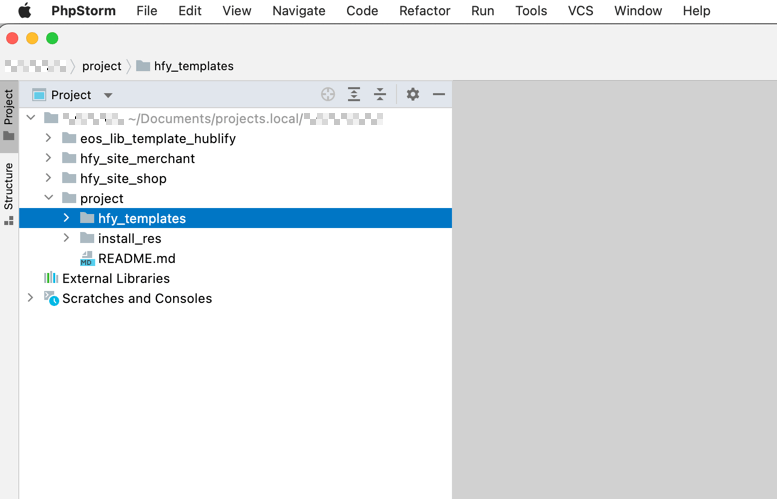
Et volia! After downloading it finally should look like this.
Now you can edit the files locally.
With explicit saving of a file (CTRL + S) the changed file is uploaded directly to the Hublify Server via SFTP.
Refresh your Browser to see your nice template-render-results!
Hava a nice cody day! :)